

When your home feels cluttered everywhere, the hardest part often isn’t deciding what to keep or get rid of.
It’s figuring out where to begin.
You look around and see too many things competing for your attention. The kitchen counter needs work. There’s a pile in the bedroom. A drawer won’t close. Something has been sitting by the door for weeks.
Suddenly, decluttering the house feels like one enormous project.
So you postpone it.
Not because you don’t want a calmer home, but because the task feels too big to start.
If you’re trying to figure out how to declutter when you feel overwhelmed, don’t begin by tackling an entire room.
Make the job dramatically smaller.
You don’t need to finish your home today.
You need one clear place to start.
Step 1: Choose a Micro-Area, Not a Room
One of the easiest ways to make decluttering feel impossible is to start with a goal like:
“I’m going to declutter the kitchen.”
That’s not one task.
That’s dozens of tasks hiding inside one sentence.
Instead, choose a micro-area with clear boundaries.
It could be:
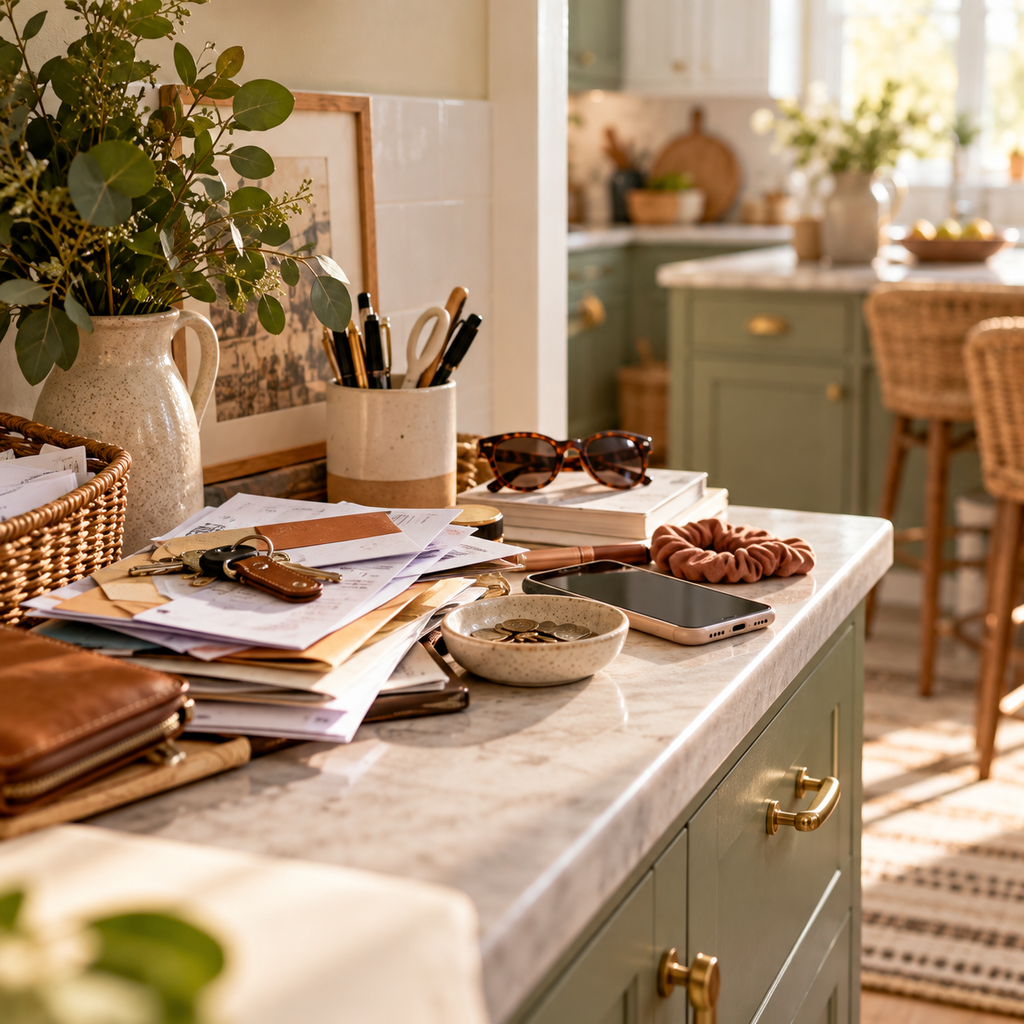
- one section of a counter
- one small drawer
- one shelf
- the top of one nightstand
- one corner of a desk
- one small section of a bathroom cabinet
Instead of:
The bedroom
choose:
The top of this nightstand.
Instead of:
The kitchen
choose:
This section of the counter.
A clearly defined space gives you something you can actually finish.
Try the One-Surface Rule
If you still don’t know where to begin, use this rule:
Choose one surface you can reach without walking around the room.
That’s your entire project for now.
Don’t add the drawer underneath it.
Don’t add the shelf beside it.
Don’t suddenly decide that you should reorganize the entire room while you’re there.
One surface.
That’s enough.
Step 2: Make the Starting Point Almost Too Easy
Your first decluttering session should not test your motivation.
It should make starting feel almost ridiculously manageable.
If the desk still feels like too much, choose the left side of the desk.
If the entire counter feels overwhelming, clear only the space beside the coffee maker.
If one cabinet feels like a project, choose one shelf.
There is no prize for choosing the largest possible starting point.
The goal of your first round is not to prove how much you can accomplish.
It’s to make starting easier than postponing.
And once you’ve completed one small area, you have something important that you didn’t have before:
visible progress.
Step 3: Set a 10-Minute Timer
Now give the task an ending before you begin.
Set a timer for 10 minutes.
Not an hour.
Not “until I’m finished.”
Ten minutes.
Knowing that you are allowed to stop makes starting much easier.
For those 10 minutes, work only on the micro-area you selected.
If you finish before the timer ends, great.
If the timer ends before you finish, that’s fine too.
You still spent 10 focused minutes improving one defined space.

Don’t Turn 10 Minutes Into a Secret Three-Hour Project
Sometimes you start decluttering, get a burst of motivation, and think:
“I’m already doing this. I might as well organize everything.”
Then one drawer becomes six drawers.
You start pulling things out of cabinets.
Halfway through, you’re tired and the room looks worse than when you started.
That’s exactly what we’re trying to avoid.
If you genuinely want to continue after the timer ends, choose another small area and start a new round.
Make continuing a new decision, not something the original task quietly grows into.
Step 4: Make the Easy Decisions First
You don’t need to begin with the most emotionally difficult item you own.
Start with decisions that require very little thought.
Something is clearly trash.
Something obviously belongs somewhere else.
Something is definitely staying.
Something you’re comfortable letting go of.
Handle those decisions first.
And use this rule:
If an item makes you freeze, skip it for this round.
You don’t have to decide everything today.
Sentimental objects, expensive purchases you regret, gifts, paperwork, photographs, and other difficult categories can wait until you have more time and energy.
Your 10-minute session doesn’t need to become an emotional marathon because you found one complicated object.
Keep moving.
Step 5: Use Four Simple Categories
You do not need twelve beautifully labeled organizing bins before you can declutter.
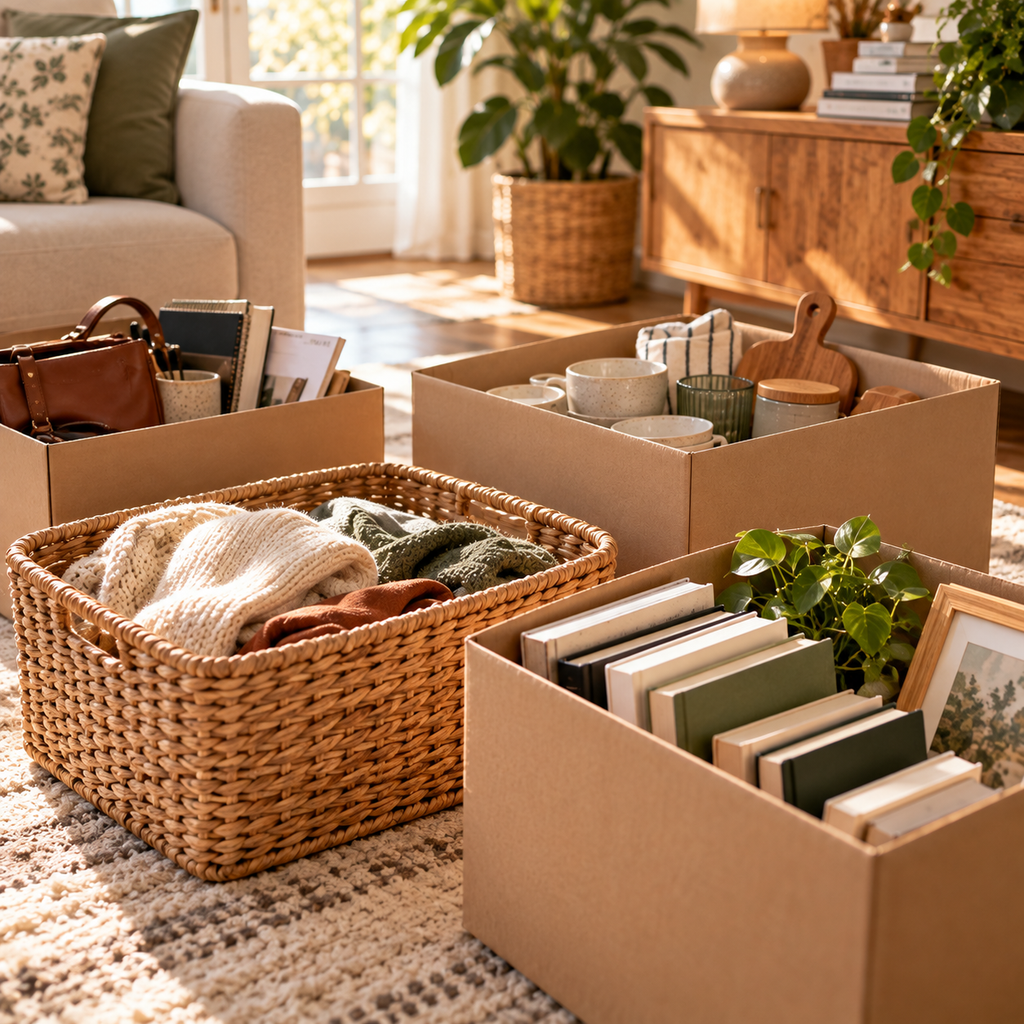
For a short session, use four simple categories:
Keep Here
You want to keep the item, and it belongs in the area you’re working on.
Belongs Elsewhere
You’re keeping it, but it belongs somewhere else in your home.
Let Go
You’re ready to donate, sell, give away, or otherwise remove it from your home.
Trash or Recycle
It no longer needs to stay.
That’s enough.
Don’t stop your decluttering session to research donation centers, photograph something for resale, or figure out exactly who might want an item.
First make the decision.
Handle the logistics afterward.

Step 6: Stay in Your Micro-Area
This is where a simple decluttering session can accidentally turn into a tour of your entire house.
You pick up something that belongs in the bedroom.
You walk there to put it away.
Then you notice something on the dresser.
You start dealing with that.
Five minutes later, you’re organizing a completely different area and the original counter is still unfinished.
Instead, keep one basket or container nearby for everything that belongs elsewhere.
When you find an item from another room, put it in the basket and continue working on your original micro-area.
Don’t leave yet.
Stay with the space you chose until the timer ends.
Then you can return the misplaced items.
This keeps one task from multiplying into ten.
Step 7: Don’t Finish With New Piles
Decluttering one surface isn’t very helpful if you finish with three new piles on the floor.
Before ending your session, close the easiest loops.
Put trash in the trash.
Move recycling to its proper place.
Put anything you’re letting go of into one designated bag or container.
Then deal with your “belongs elsewhere” basket.
The goal is simple:
Don’t solve one pile by creating another one.
If something requires more work — listing an item for sale, arranging a donation, finding a permanent storage location — give it one temporary designated place rather than scattering unfinished decisions around the room.
Step 8: Know When to Stop
Stopping is part of the method.
When your timer ends, look at the area you worked on.
Maybe you cleared the entire surface.
Maybe you only finished half.
Either way, notice what changed.
Then ask:
Do I genuinely have the time and energy for another 10-minute round?
If the answer is yes, deliberately choose your next micro-area.
If the answer is no, stop.
A decluttering session doesn’t become unsuccessful because you didn’t exhaust yourself.
You completed the round you planned.
That counts.
What If 10 Minutes Still Feels Like Too Much?
Make it five.
Seriously.
The method isn’t useful because the timer says exactly 10:00.
It’s useful because you’re putting a boundary around a task that previously felt endless.
Try:
One tiny area. Five minutes. Easy decisions only.
That’s a perfectly legitimate decluttering session.
The goal is to make the task small enough that you can begin.
What If You Don’t Know Where Something Belongs?
Don’t interrupt the entire session trying to invent the perfect home for every object.
First ask:
Do I want to keep this?
If the answer is no, decide whether it belongs in your “let go” or “trash/recycle” category.
If the answer is yes but you don’t know where it should live, put it in your temporary “belongs elsewhere” basket.
You can decide on its permanent home afterward.
This keeps decluttering and organizing from becoming one giant task.
They are related, but they’re not exactly the same thing.
Decluttering asks:
Should this stay?
Organizing asks:
Where should it live?
You don’t always need to answer both questions at once.
What If You Keep Getting Distracted?
Give yourself one rule:
Nothing outside the chosen micro-area becomes today’s project.
You will notice other clutter while you’re working.
That’s okay.
You don’t need to fix everything you notice.
If another area genuinely needs attention, make a quick note of it and return to your current task.
Noticing something doesn’t create an obligation to deal with it immediately.
Finish one small cycle before opening another.
Your 10-Minute Decluttering Method
When your home feels overwhelming, you don’t need an elaborate system.
Remember this:
1. Pick one micro-area.
2. Set a timer for 10 minutes.
3. Make the easiest decisions first.
4. Skip anything that makes you freeze.
5. Use four categories: keep here, belongs elsewhere, let go, and trash/recycle.
6. Stay in your chosen area until the timer ends.
7. Close the easy loops so you don’t create new piles.
8. Stop — or intentionally choose another 10-minute round.
That’s it.
No entire room pulled apart.
No complicated organizing system required.
No expectation that today is the day you finally fix the whole house.
Small Finished Spaces Add Up
When clutter feels overwhelming, it’s easy to believe you need something bigger.
A free weekend.
More storage.
A complete organizing plan.
Enough motivation to finally tackle everything.
But if the size of the project is exactly what keeps you from starting, making the project bigger isn’t the solution.
Make it smaller.
Choose one surface.
Give yourself 10 minutes.
Make the obvious decisions.
Finish that small cycle.
Then stop if you need to.
The next time you’re ready, choose another micro-area.
A calmer home doesn’t have to begin with a dramatic before-and-after transformation.
It can begin with one small space that feels noticeably better than it did 10 minutes ago.