
A good hair mask doesn’t need a complicated ingredient list—or an entire shelf of products.
With a few simple ingredients, you can make a DIY hair mask based on what your hair needs right now, whether that’s more softness, shine, smoother-looking ends, less visible frizz, or a lightweight treatment that won’t leave your hair feeling coated.
The key is choosing the right recipe for your hair instead of using the same heavy mixture for every hair type.
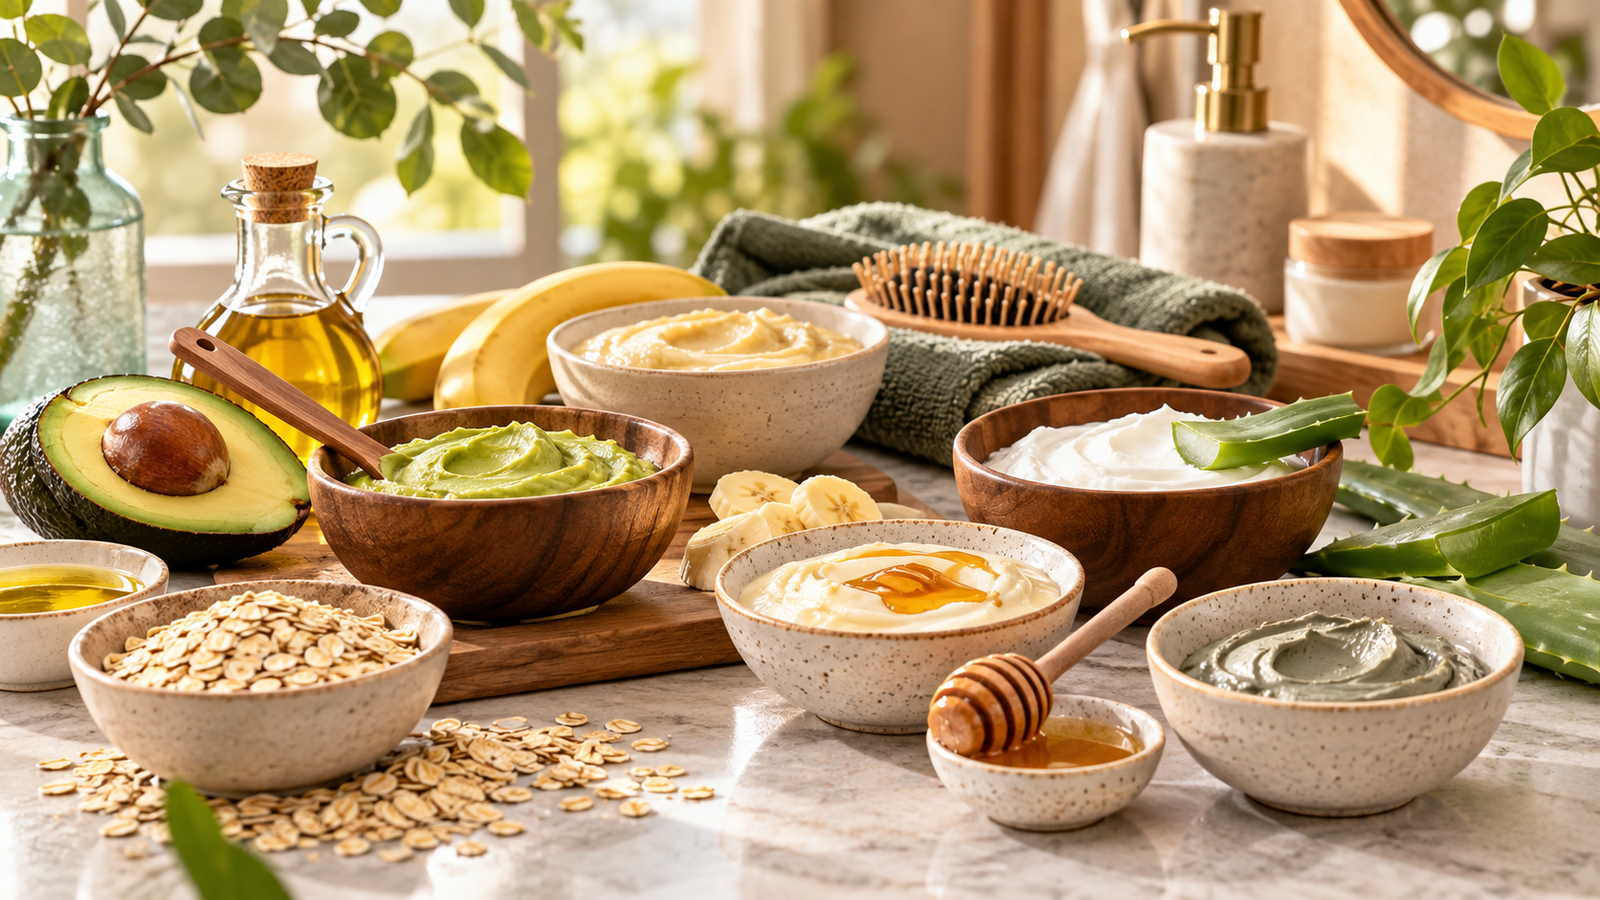
Below you’ll find 7 easy DIY hair mask recipes, complete with measurements, application instructions, how long to leave each one on, and how often to use it.
Before You Make a DIY Hair Mask
Homemade hair masks are best used as occasional cosmetic treatments for the look and feel of your hair.
A few simple rules make them much easier to use.
Make Only What You Need
These recipes don’t contain cosmetic preservatives, so make a small batch and use it immediately.
Don’t prepare a large jar to keep in the bathroom for several weeks.
Apply the Mask Where Your Hair Needs It
Dry lengths and ends may work well with richer ingredients, while fine hair can become weighed down by the same mixture.
Unless a recipe specifically says otherwise, concentrate the mask on your mid-lengths and ends rather than automatically covering your roots.
Patch-Test Unfamiliar Ingredients
If you’re trying an ingredient on your skin or scalp for the first time, test a small amount first.
Avoid anything you already know you’re sensitive or allergic to.
Follow the Suggested Time
Leaving a homemade mask on for hours doesn’t automatically make it better.
Follow the suggested time, rinse thoroughly, and see how your hair feels afterward.
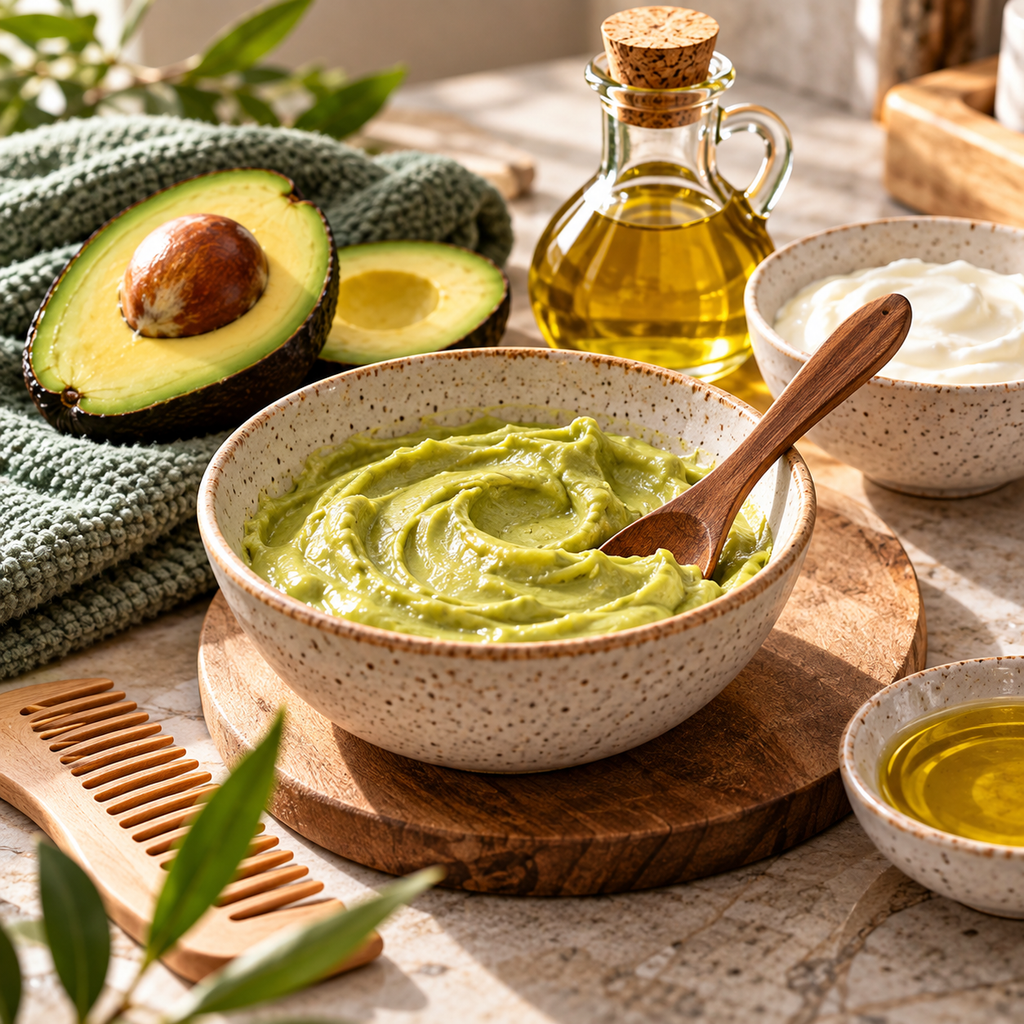
1. Avocado + Olive Oil Mask for Dry Hair
Best for: dry, coarse, or dull-feeling lengths and ends
Leave on: 15–20 minutes
Use: about once a week or as needed
This is one of the richest masks on the list, making it better suited to hair that tends to feel dry rather than hair that becomes oily or weighed down easily.
You’ll Need
- ½ ripe avocado
- 1 tablespoon olive oil
- 1 tablespoon plain unsweetened yogurt
How to Make It
Mash the avocado extremely well until there are no visible chunks.
Add the olive oil and yogurt and mix until smooth and creamy.
For the easiest application and rinsing, you can blend the ingredients instead of mashing them by hand.
How to Apply It
Apply to damp hair, concentrating on the mid-lengths and ends.
Leave it on for 15–20 minutes.
Rinse thoroughly with lukewarm water, then shampoo as usual.
2. Banana + Yogurt Mask for Softer-Feeling Hair
Best for: hair that feels rough or difficult to manage
Leave on: 10–15 minutes
Use: about once a week
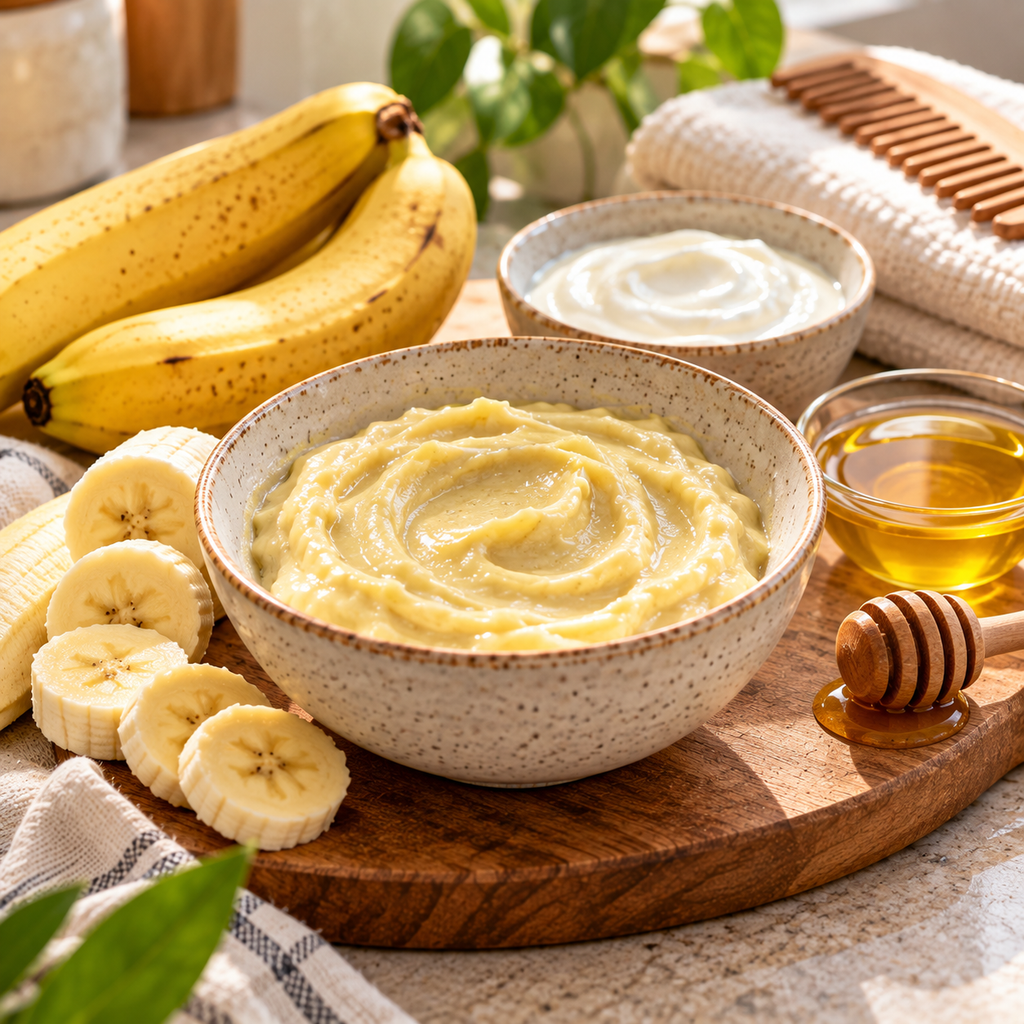
Banana makes a creamy base for a simple homemade mask, but there’s one important rule:
Blend it very well.
Tiny banana pieces stuck in your hair are not the relaxing DIY beauty experience we’re aiming for.
You’ll Need
- ½ very ripe banana
- 2 tablespoons plain unsweetened yogurt
- 1 teaspoon olive oil
How to Make It
Blend all three ingredients until completely smooth.
If you can still see pieces of banana, keep blending.
How to Apply It
Apply the mixture to damp mid-lengths and ends.
Leave it on for 10–15 minutes.
Rinse very thoroughly, then shampoo normally.
If your hair is fine or easily weighed down, leave out the olive oil.
3. Honey + Yogurt Mask for Dull-Looking Hair
Best for: hair that looks dull and needs a simple conditioning treatment
Leave on: 10–15 minutes
Use: every 1–2 weeks as needed
This is one of the easiest recipes in the guide.
Just two ingredients—no need to turn your kitchen into a cosmetic laboratory.
You’ll Need
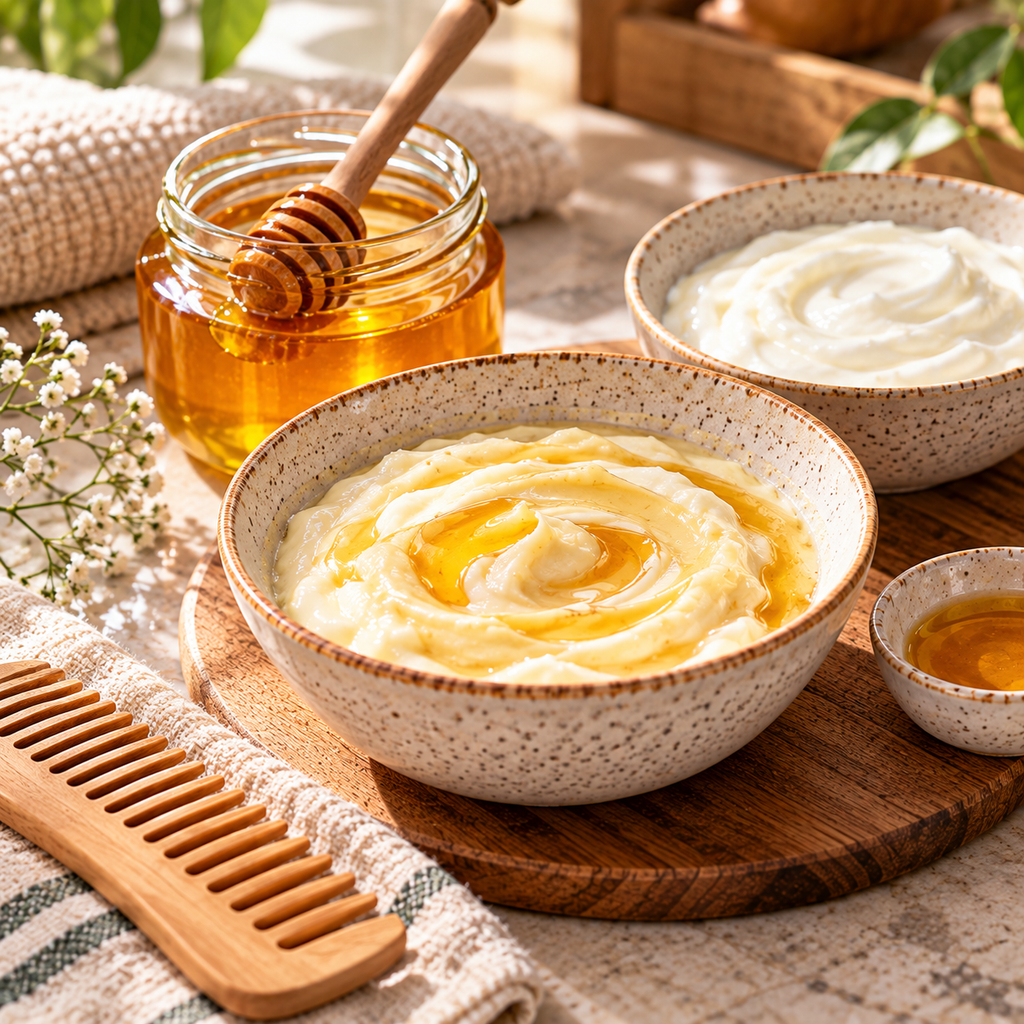
- 3 tablespoons plain unsweetened yogurt
- 1 tablespoon honey
How to Make It
Mix the yogurt and honey until completely combined.
If your honey is very thick, allow it to come to room temperature first rather than heating it until it’s hot.
How to Apply It
Spread a thin layer through damp mid-lengths and ends.
You don’t need to completely saturate your hair.
Leave it on for 10–15 minutes, then rinse thoroughly and shampoo.
4. Aloe Vera + Conditioner Mask for Frizz-Prone Hair
Best for: hair that tends to look frizzy through the lengths
Leave on: 10 minutes
Use: about once a week or as needed
Instead of making another heavy oil mask, this recipe uses your regular conditioner as its base.
That keeps the consistency simple and easy to distribute.
You’ll Need
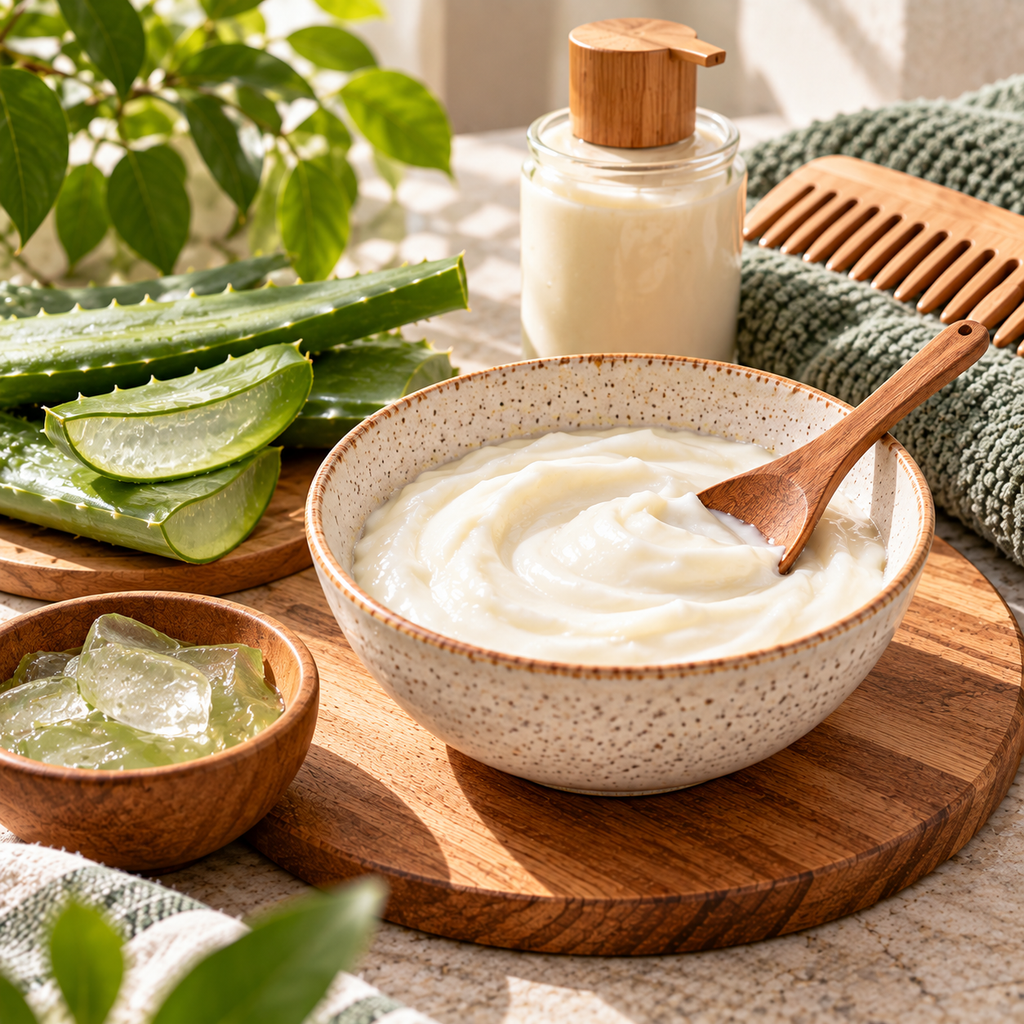
- 2 tablespoons of your regular conditioner
- 1 tablespoon pure aloe vera gel
How to Make It
Mix the conditioner and aloe vera gel in a small bowl until evenly combined.
How to Apply It
After shampooing, gently squeeze excess water from your hair.
Apply the mixture through the mid-lengths and ends, concentrating on areas that tend to look frizzy.
Leave it on for about 10 minutes.
Rinse thoroughly.
Because conditioner is already part of the mask, you usually won’t need another conditioning step afterward.
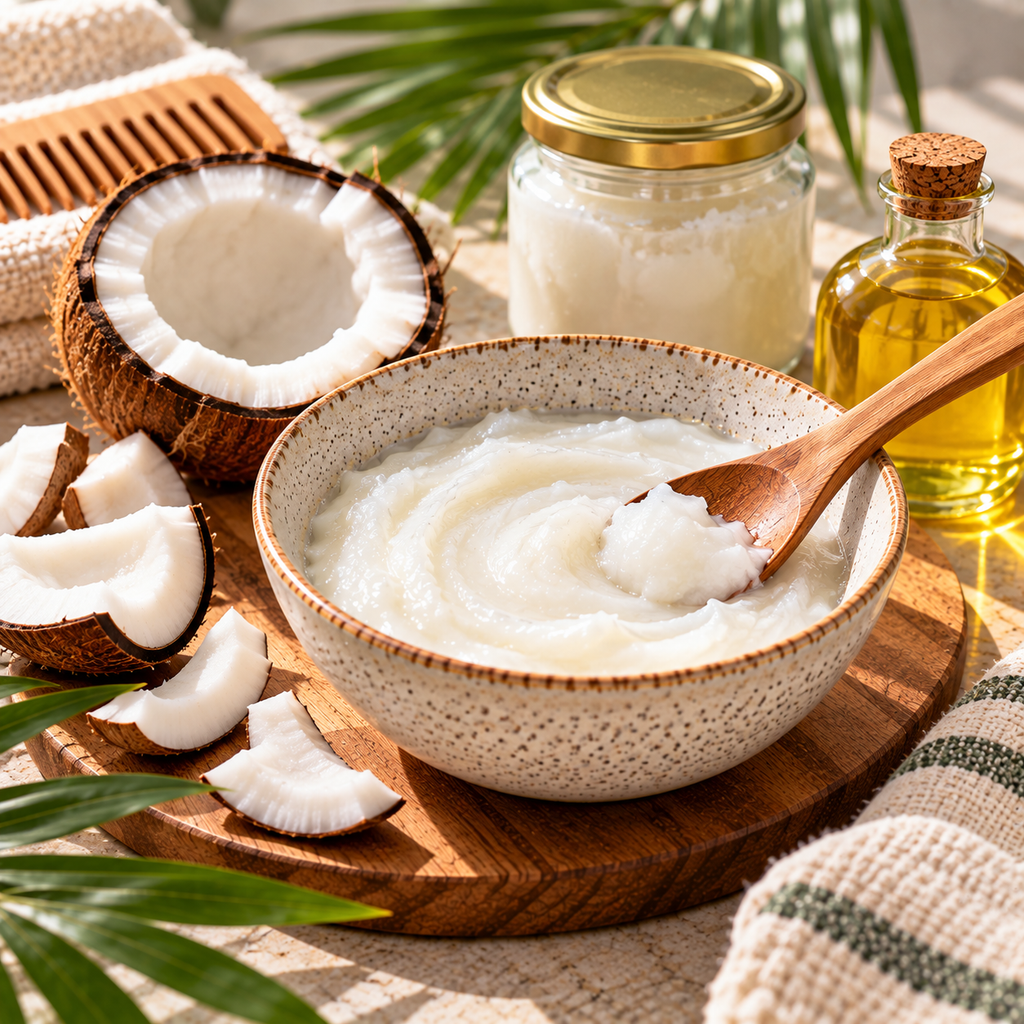
5. Coconut Oil Pre-Shampoo Mask for Very Dry Ends
Best for: very dry-feeling or weathered ends
Leave on: 15–30 minutes before shampooing
Use: every 1–2 weeks as needed
This one is technically a pre-shampoo treatment rather than a creamy mask—and that’s intentional.
Instead of mixing coconut oil with five other ingredients, keep it simple.
You’ll Need
- 1–2 teaspoons coconut oil
That’s it.
The amount depends on the length and thickness of your hair. Start with less than you think you’ll need.
How to Apply It
Warm a small amount between your palms until it softens.
Smooth it lightly over the driest sections of your hair, particularly the ends.
Your hair doesn’t need to be soaked in oil.
Leave it on for 15–30 minutes, then shampoo thoroughly.
If you’ve accidentally used too much, you may need a second shampoo.
If your hair is very fine or becomes greasy easily, skip this recipe and try the lightweight mask below instead.
6. Green Tea + Conditioner Mask for Fine Hair
Best for: fine hair that gets weighed down easily
Leave on: 5–10 minutes
Use: occasionally as needed
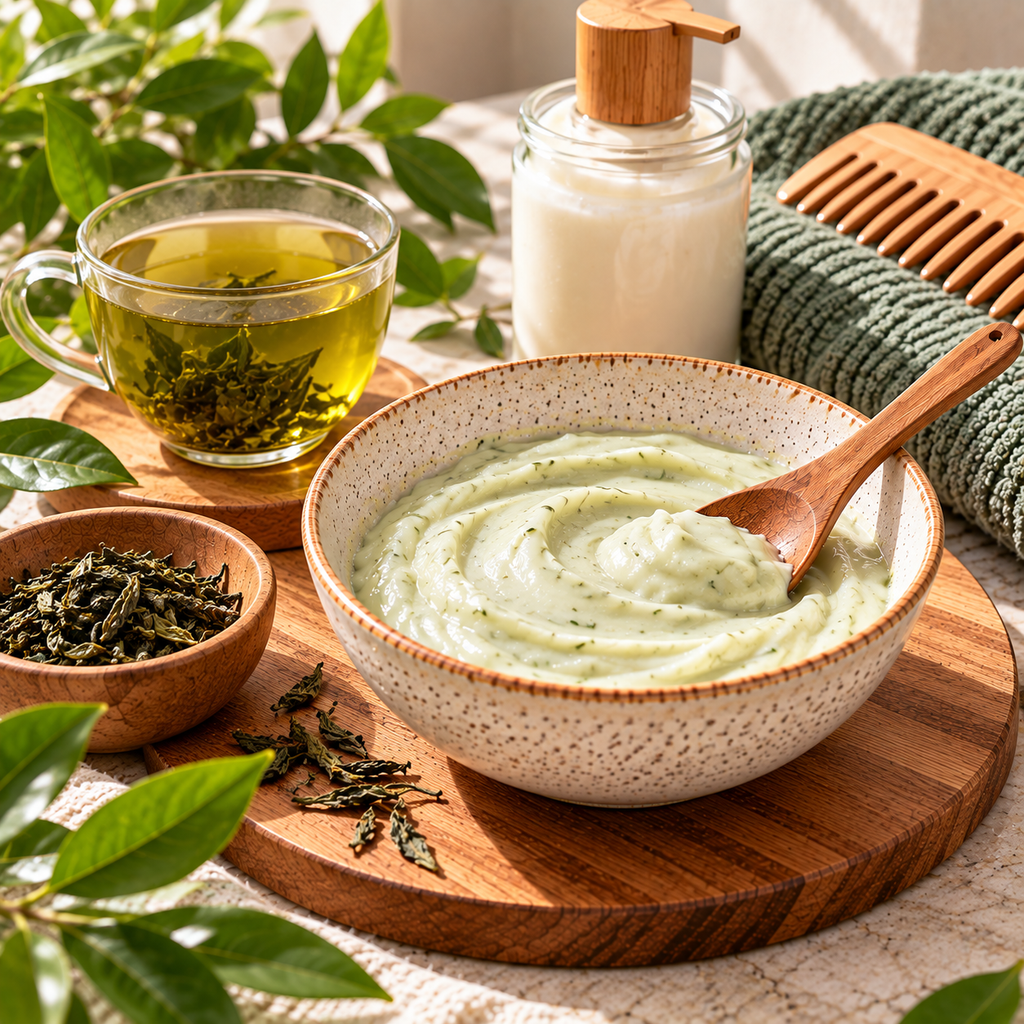
Fine hair doesn’t always need another oil-heavy treatment.
This recipe starts with a lightweight conditioner and uses a small amount of cooled brewed green tea to create a thinner consistency that’s easy to spread without piling on rich ingredients.
You’ll Need
- 2 tablespoons lightweight conditioner
- 1 tablespoon strongly brewed green tea, completely cooled
How to Make It
Brew a small amount of plain green tea and allow it to cool completely.
Mix one tablespoon of the cooled tea with the conditioner.
The finished mixture should be slightly thinner than your regular conditioner but not watery.
How to Apply It
After shampooing, squeeze excess water from your hair.
Apply a small amount through the mid-lengths and ends.
Leave it on for 5–10 minutes, then rinse thoroughly.
Start with a small amount. Fine hair usually doesn’t need to be coated heavily to feel conditioned.
7. Oat + Aloe Mask for Hair That Needs a Lightweight Reset
Best for: hair that feels coated or gets weighed down by richer DIY masks
Leave on: 5–10 minutes
Use: occasionally
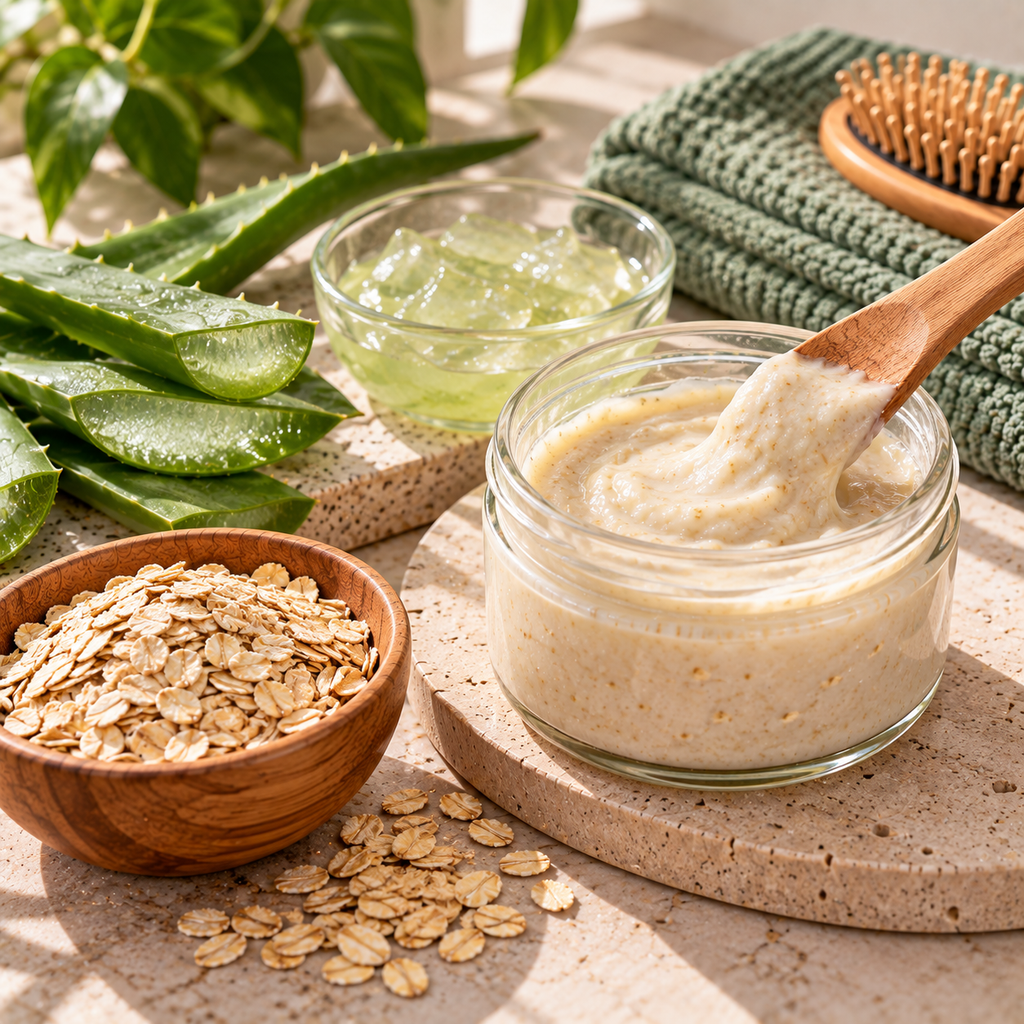
Not every homemade hair mask needs avocado, banana, or oil.
This lighter recipe gives you another option when the richer masks on this list simply feel like too much for your hair.
You’ll Need
- 1 tablespoon very finely ground plain oats
- 2 tablespoons warm water
- 1 tablespoon pure aloe vera gel
How to Make It
Grind the oats until they’re as fine as possible.
Combine them with the warm water and let the mixture sit for about 5 minutes.
Stir in the aloe vera gel.
For easier rinsing, strain the mixture before applying it so you’re using the smoother liquid rather than leaving pieces of oatmeal in your hair.
How to Apply It
Apply a light coating through damp mid-lengths and ends.
Leave it on for 5–10 minutes.
Rinse thoroughly.
Because this is a lighter recipe, it’s a good place to start if oil-based DIY treatments tend to leave your hair feeling heavy.
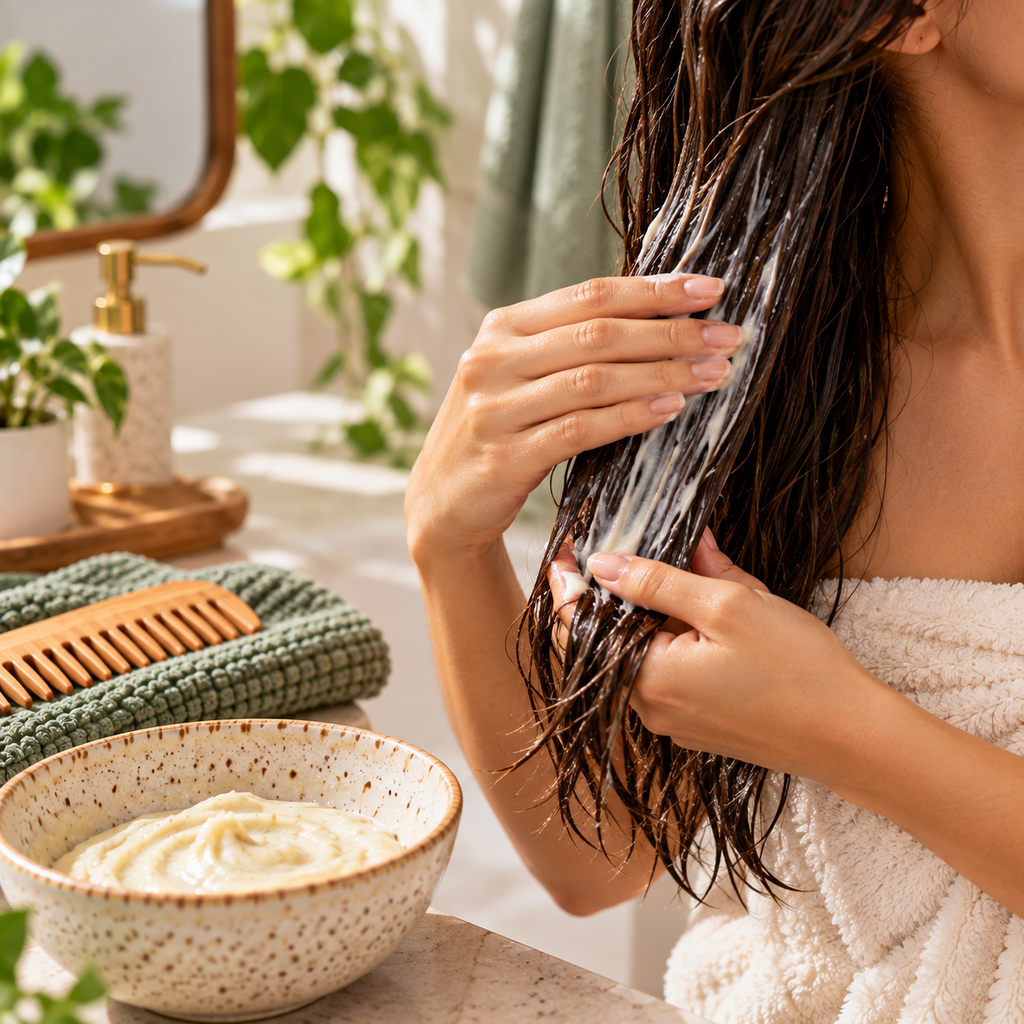
How to Apply a Hair Mask Without Making a Mess
The recipe matters, but so does the way you apply it.
For most masks in this guide, this simple method works well.
1. Detangle First
Gently detangle your hair before applying a thick mixture.
Trying to distribute mashed avocado through a knot is an unnecessary challenge.
2. Divide Long or Thick Hair Into Sections
Two to four loose sections make it easier to distribute the mask evenly without using far more product than necessary.
3. Start With the Areas That Need It Most
For dry or frizz-prone hair, that’s usually the mid-lengths and ends.
Your roots don’t automatically need everything you put on your ends.
4. Use a Thin, Even Layer
More product doesn’t necessarily mean better results.
Apply enough to lightly coat the hair rather than emptying the entire bowl onto your head.
5. Clip Long Hair Up
Loosely clip your hair out of the way while you wait.
There’s no need to wrap it tightly.
6. Rinse Thoroughly
Homemade mixtures can take longer to rinse than commercial hair masks.
Use lukewarm water and take your time.
Then shampoo or condition according to the instructions for that particular recipe.
If you’re turning your hair mask into a longer self-care shower, follow our Everything Shower Routine: The Right Order From Head to Toe to see where hair treatments, shampoo, conditioner, body care, and the rest of your routine fit.
Which DIY Hair Mask Should You Choose?
Not sure where to start?
Use this quick guide.
| If your hair… | Try… | Time |
|---|---|---|
| Feels dry or coarse | Avocado + Olive Oil | 15–20 min |
| Feels rough | Banana + Yogurt | 10–15 min |
| Looks dull | Honey + Yogurt | 10–15 min |
| Looks frizzy | Aloe + Conditioner | 10 min |
| Has very dry-feeling ends | Coconut Oil Pre-Shampoo | 15–30 min |
| Is fine and easily weighed down | Green Tea + Conditioner | 5–10 min |
| Gets weighed down by rich masks | Oat + Aloe | 5–10 min |
You don’t need to try all seven.
Choose the recipe that matches what your hair needs right now.
How Often Should You Use a DIY Hair Mask?
More isn’t automatically better.
For richer treatments, once a week or every couple of weeks may be plenty.
Fine or easily weighed-down hair may need them less often.
Pay attention to what happens after your hair dries and you style it normally.
If it feels soft and manageable, you’ve probably found a combination that works well for you.
If it feels heavy, greasy, coated, or flat, try:
- using less product
- applying it less frequently
- choosing a lighter recipe
- keeping rich ingredients farther away from your roots
Your hair doesn’t need to follow the schedule on someone else’s bathroom calendar.
Can You Store Homemade Hair Masks?
For these recipes, make them fresh.
Because they contain ingredients such as yogurt, fruit, brewed tea, aloe, and water without a proper cosmetic preservative system, they’re not designed to sit around waiting for your next hair-care day.
Make a small batch.
Use what you need.
Discard the rest.
That’s also why the measurements in these recipes are intentionally small.
You don’t need a mason jar full of banana and yogurt waiting in your refrigerator for its next beauty appointment.
Turn Your Hair Mask Into a Simple Self-Care Moment
A hair mask doesn’t need to become a three-hour beauty marathon.
Choose one recipe.
Apply it.
Set your timer.
Then use those few minutes for something you actually enjoy.
If you’re in the mood for another simple homemade treatment, try one of our DIY Body Scrub Recipes: 7 Easy Recipes for Softer Skin while you’re planning your next at-home self-care session.
Two simple treatments are plenty.
Your bathroom doesn’t need to become a laboratory.
Frequently Asked Questions About DIY Hair Masks
Can I Put a DIY Hair Mask on Dirty Hair?
It depends on the recipe.
The coconut oil treatment in this guide is designed to be used before shampooing.
The conditioner-based masks are designed to be used after shampooing.
Follow the instructions for the individual recipe rather than applying every mask the same way.
Should I Apply a Hair Mask to Wet or Dry Hair?
Most of the masks in this guide are designed for damp hair because it’s easier to distribute a small amount evenly.
The coconut oil recipe is the exception because it’s used as a pre-shampoo treatment.
Should I Apply a Hair Mask to My Roots?
Not automatically.
If you’re using a conditioning mask because your lengths and ends feel dry or frizzy, concentrate the product where it’s actually needed.
Fine or easily oily hair may feel especially heavy if rich mixtures are applied directly at the roots.
Can I Leave a Homemade Hair Mask on Overnight?
There’s no need to leave these recipes on overnight.
Follow the suggested application time and rinse thoroughly.
Longer isn’t automatically better.
Can I Use These Masks on Color-Treated Hair?
Color-treated hair can respond differently to homemade ingredients and treatments.
If maintaining a particular color or chemical service is important, follow the aftercare instructions for that service or check with your stylist before experimenting with DIY recipes.
Can I Use a DIY Hair Mask Every Day?
These recipes aren’t intended for daily use.
Start occasionally and see how your hair responds before deciding how often a particular mask belongs in your routine.
Which DIY Hair Mask Is Best for Beginners?
If you’ve never made one before, start with the recipe that has the simplest match for your hair.
Try honey + yogurt if you want a basic conditioning mask, aloe + conditioner for frizz-prone lengths, or green tea + conditioner if your hair is fine and easily weighed down.
You don’t need to start with the most complicated recipe.
Start With What Your Hair Actually Needs
The best DIY hair mask isn’t the recipe with the longest ingredient list.
It’s the one that makes sense for your hair.
If your ends feel dry, try a richer treatment.
If your hair is fine, start light.
If frizz is your main concern, choose a mask designed for the lengths instead of covering your entire head in oil.
And you definitely don’t need seven masks in one week just because there are seven recipes on this page.
Choose one. Make a small batch. Follow the suggested time. Rinse thoroughly. Then see how your hair responds.
Simple wins.